Generate Annotation Reports
From the cloud interface after entering Map view you can use the annotation toolbar to create annotations. After creating those annotations, you can quickly generate PDF annotation reports.


To generate an annotations report, click the Export Annotations → Annotations Report button from the annotations toolbar:

Before downloading the report you will be asked to populate Prepared By and Notes fields; both are optional and can be left empty.
Add/Remove Measurements
By default all visible measurements are exported in the annotations report. To add or remove a measurement from the report, toggle an annotation visibility from the map's Layer List.
Area vs. Volume Tables
Polygon annotations are either placed in Area or Volume tables. If the software incorrectly places an annotation in the wrong table, to move a measurement from Area to Volume (or vice-versa), change the Display option from the measurement's popup window accordingly before exporting the annotations report.
Assigning Custom Ids
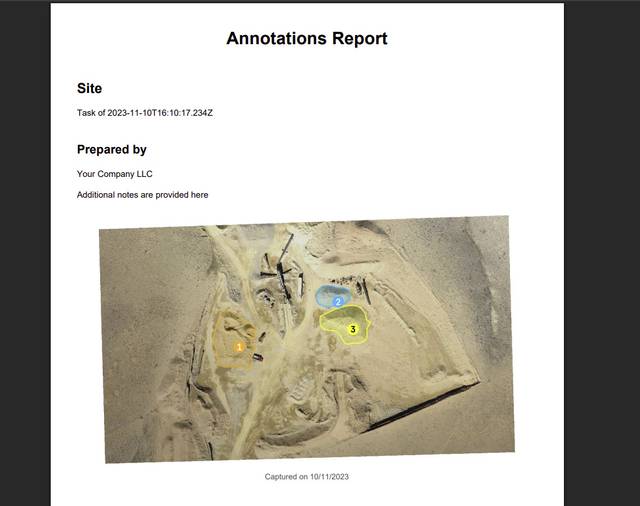
By default measurements are labeled with a number identifier starting with 1. These identifiers are not permanently tied to the measurement, e.g. adding or removing measurements might change the order of the identifiers.
For this reason, you can assign custom identifiers to each measurement by filling the Name field of a measurement (from the measurement popup) with a one (1) or two (2) character identifier. Examples of valid identifiers include:
- A
- B
- 5
- 5A
- 5B
Cropping Overviews
By default the cover page/overviews will include a rendering of the entire map. Sometimes it might be desirable to zoom-in/focus on a particular area. This can be achieved by first cropping the map before exporting the annotations PDF by using the Crop button:

Cropping is a safe operation. You can always undo the crop once you're done exporting the PDF annotations report by clicking the Crop button again, followed by a right-click.
Try the Live Demo