Use Image Masks
Image masking enables users to specify portions of an image to be excluded during reconstruction. This is handy for eliminating noise or undesired elements.
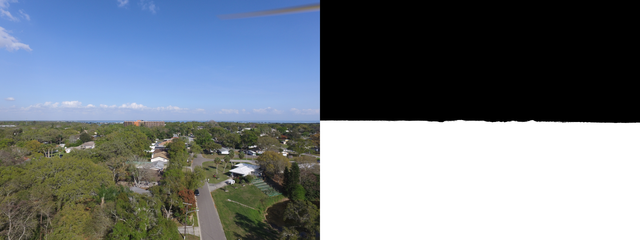
Image mask images must have the same dimensions as the image they are masking and must be named [filename]_mask.png or [filename]_mask.jpg. For example, the image mask for IMG_0001.JPG should be named IMG_0001_mask.png or IMG_0001_mask.jpg.
To eliminate an undesired item from the results, it's essential to mask the item in every image where it appears. Masking the item in a single image won't be effective if it also appears in other images.
Automatic Image Masks
Image masks can be automatically generated using the sky-removal and bg-removal options using AI models.
Manual Image Masks
While automatic generation of image masks is certainly more efficient, it doesn't cover all cases and sometimes masks need to be created manually. There are multiple ways to create image masks with your favorite image editor. Below you can find a procedure on how to do it with GIMP1. Photopea2 is also an option.
Open the Target Image
In GIMP, drag & drop the target image into it or open it via File — Open.

Locate the Layers panel and find the Create New Layer button. Alternatively, you can access the Layer menu and choose New Layer....
Create a New Layer

Ensure that you choose White from the Fill with field.
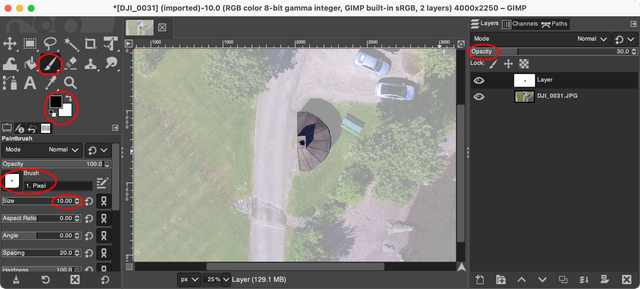
Paint the Mask
- Choose the new layer and adjust the Opacity slider to 30%.
- Pick the Paintbrush Tool.
- Set the foreground and background colors to pure black and white. You can do this by going to Tools — Default Colors.
- Select the Pixel brush and adjust its size.
- Begin painting over the items you want to remove using the black color.
Export the Mask
- Return the Opacity slider to 100%.
- Navigate to File — Export As... and save the image mask by adding the _mask suffix to the original filename.
Repeat for every other image that contains the item.
Upload the Masks
To use your manual image masks, upload them alongside your task's images.
Manual image masks are treated as additional images and will consume credits if you are on a Pay As You Go plan.
Example: uploading 10 images and 10 image masks will consume credits for 20 images total.
Automatic image masks are free.
Footnotes
-
Photopea Online Photo Editor: photopea.com ↩